
How to Hang Ceramic Art on Wall: Safe & Simple Tips
Key Takeaways
- Match the hanging method to your ceramic piece’s weight and wall type; use studs or specialty anchors for anything heavy;
- Light ceramics can use adhesive solutions; medium to heavy pieces are best with Z-clips, mirror brackets, picture wire on D-rings, or French cleats;
- Prep matters: clean surfaces, measure twice, and add a discreet safety tether for irregular or valuable pieces;
- Want an easier, renter-friendly option? Mixtiles photo tiles hang in seconds with adhesive that will not damage walls.
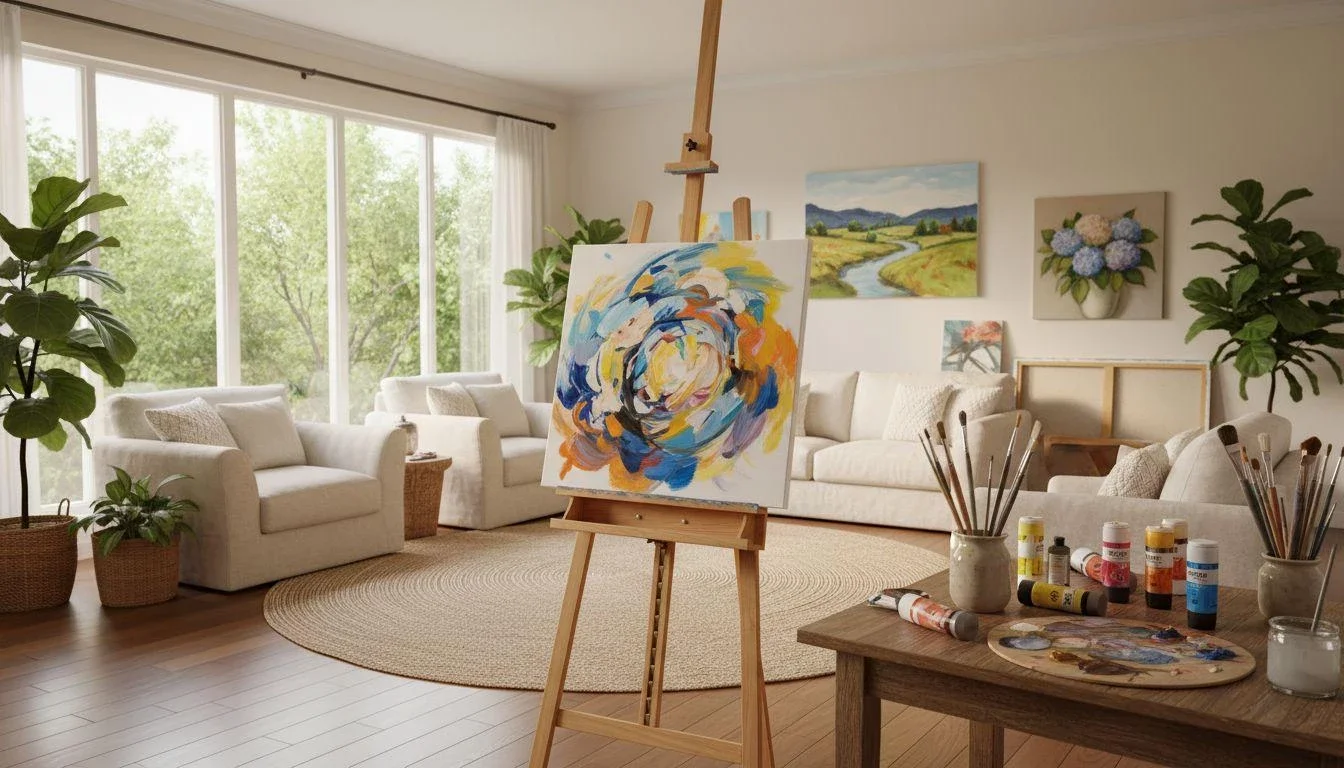
Ceramic art brings texture and character to your home. The challenge is figuring out how to hang ceramic art on wall safely so the piece looks great and stays put. This guide shows you the best way to match hardware to weight, the right anchors for your wall, and simple steps to avoid cracks. If you want the look of art without tools or holes, we will also show you a damage free alternative that you can set up in minutes.
Skip the tools and holes. Turn your favorite photos into beautiful wall art that installs in seconds. Our adhesive photo tiles stick, remove, and restick without any damage.
What should you check before hanging ceramic art?
Before you hang ceramic, confirm weight, wall type, and how the back is shaped. This helps you pick a way to hang that will support the weight and protect the piece.
1. Weigh the piece and sort it into ranges: under 5 lb, 5 to 20 lb, or over 20 lb

2. Identify the wall: drywall, plaster, brick, concrete, or tile, then locate at least one stud

3. Inspect the back: flat or uneven, any hole or hardware already attached, clay texture that may be dusty

4. Plan the spot: check humidity and traffic, then sketch the layout and mark level reference points.

Quick guide: weight to hanging method
|
Weight of piece |
Best way to hang |
|---|---|
|
Under 5 lb |
Adhesive plate disks or picture hanging strips on smooth paint; avoid textured walls; |
|
5 to 20 lb |
Z-clips or mirror brackets into a stud or rated anchors; picture wire on D-rings if the back is flat; |
|
Over 20 lb or 3D |
French cleats into studs or epoxy a backer plate, or use a shelf that can support the weight. |
How do you hang lightweight ceramic art without damaging walls?
For small, flat-backed pieces under about 5 lb, adhesive solutions work well on clean, smooth paint. They are quick, they avoid a hole, and they keep both the wall and the ceramic safe.
Best for under ~5 lb and flat-backed pieces
- Clean the wall and the ceramic back with isopropyl alcohol, then let both fully dry;
- Apply adhesive plate disks or picture hanging strips according to the label, then wait the full cure time;
- Press the piece to the wall for 30 seconds, holding firm at two opposite corners to seat the adhesive;
- Test gently by lifting up a little; if it feels secure, level and leave it in place.
When to skip adhesive
Skip adhesive if the back is very uneven or dusty clay, if the paint is textured, or if the room is humid like a bathroom. Valuable ceramic arts may deserve hardware that offers secondary support or a safety tether.
What is the safest hardware for medium-weight ceramic pieces?
For 5 to 20 lb pieces, choose hardware that spreads load across a wider area. Z-clips, mirror brackets, or D-rings with picture wire are the best way to keep stress low and the art flush.
Z-clips, flush and low profile
Attach one clip to the wall and one to a rigid backer that you bond to the ceramic back using a two part epoxy. Z-clips let the piece lift on and off for cleaning and re-leveling, which is great for a tight design grid.
Mirror brackets, corner or clip styles
Mirror brackets hold tiles, plaques, or flat panels without hiding edges. Add thin felt where metal meets ceramic to reduce point pressure. Select brackets sized to the thickness of your piece.
Heavy-duty plate hangers or picture wire
Use weight rated plate hangers that do not pinch too hard on a delicate rim. If the back allows, mount D-rings to a bonded backer and use picture wire. Hang on one or two wall hooks set into a stud or premium anchor.
How do you mount heavy or protruding ceramic art securely?
For large or 3D work, distribute load into studs and anchor the back with a strong, wide interface. French cleats or an epoxy bonded backer plate are the most reliable options.
French cleats, most robust
A two piece cleat locks the art to the wall and spreads weight. Attach the wall cleat to studs. Bond the mate cleat to an aluminum or hardwood backer adhered to the ceramic back.
Epoxy plus backer plate
Use a rigid plate with ample surface area. Bond it with a high strength, two part epoxy, allow the full cure, then fasten your chosen hanger to the plate. Test the assembly near the floor first.
When to use shelves instead
If the sculpture projects far out or is very heavy, a stud mounted shelf with a subtle front lip can be the safer way to hang and still showcase the piece.
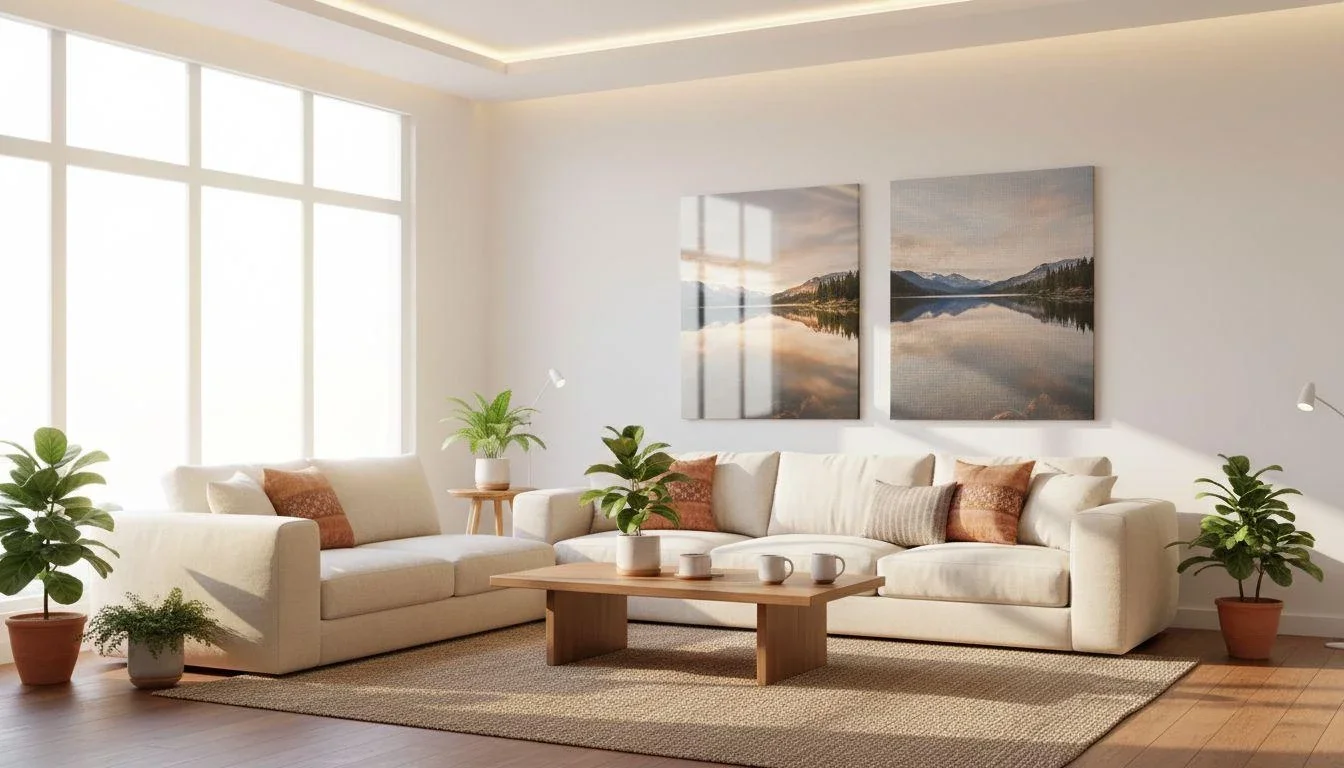
Love the look of art without the hassle? Build a stunning gallery wall in minutes. Mix and match our classic tiles with textured canvas prints for a dynamic, damage-free display.
Which anchors should you use for your wall type?
Match the anchor to the wall. Use studs whenever possible. If you cannot reach one, choose a toggle or masonry option that is rated above the piece’s weight.
Drywall
Fasten into a stud with wood screws for the strongest hold. Without a stud, select premium drywall anchors or toggles that can support the weight, not basic expansion plugs.
Plaster or lath
Pre-drill carefully, then use toggle bolts or specialty plaster anchors. Go slow to avoid cracking and use a larger washer under the bracket to spread load.
Brick, concrete, or tile
Use masonry anchors and the correct drill bit. Avoid drilling only in grout. On tile, add masking tape to prevent wandering and let the bit do the work at low speed.
If you are hanging stretched canvases rather than ceramics, follow our step-by-step guide on how to hang canvas art on a wall for clean, level installs on any surface.
How do you avoid cracks and ensure long-term safety?
Protect both the ceramic and your wall with a few pro habits. These small steps will help your installation last for years.
- Clean surfaces and remove dust from holes before mounting;
- Add felt pads at contact points to reduce point pressure on the piece;
- Use a thin, discreet safety cable or tether for insurance on protruding work;
- Re check fasteners seasonally and replace tired adhesives annually.
Prefer a renter-friendly alternative to heavy ceramic displays?
If your favorite ceramic piece is fragile, consider photographing it and displaying the image as wall photo tiles. You can create a picture wall with Gallery Wall Sets, add a Wall Sign for a title, and mix in Canvas Tiles for a matte, museum look. Everything can be stuck, moved, and re arranged without damage so you can try one design, then try two or three more until it feels just right.
Conclusion. Learning how to hang ceramic art on wall comes down to matching weight, wall, and hardware. Use adhesive for light pieces, Z-clips or mirror brackets for medium work, and French cleats or shelves for heavy or 3D art. Prep well, support the weight, and add a backup when needed. If you want an effortless display, Mixtiles helps you hang ceramic inspired pictures in minutes with zero tools.
Ready to create beautiful photo walls without the damage? Turn your memories into stunning canvas pictures today and enjoy fast, free delivery.
Frequently Asked Questions
What’s the safest way to attach ceramic art to a wall?
For small, flat pieces under 5 lb, use adhesive plate disks or strong picture hanging strips on clean, smooth paint. For 5–20 lb, choose Z-clips, mirror clips, or D-rings on a bonded backer with picture wire. Over 20 lb or 3D, use French cleats into studs; match anchors to wall type.
How do I hang ceramic birds so they look balanced?
If they have keyhole slots, use screws set into studs or rated anchors and map spacing with a paper template. Light birds without hardware can use adhesive strips on smooth paint; heavier pieces need D‑rings on a bonded backer. Test near the floor, add felt pads, and consider a discreet safety tether.
How can I hang ceramic plates without nails or drilling?
Use adhesive plate disks sized to the plate and allow full cure time before hanging. High‑quality picture hanging strips also work on smooth, clean paint for plates under about 5 lb. Avoid textured walls, high humidity, and priceless heirlooms; choose hardware if weight, conditions, or value are marginal.
What’s the right way to hang a large or heavy ceramic plate?
Choose a weight‑rated plate hanger that spreads pressure, or epoxy a rigid backer plate and add D‑rings with picture wire. Hang from a stud or premium toggle or masonry anchors. For very heavy work, use a French cleat. Add felt pads and check fasteners periodically.

Be first to know — deals, news & decor ideas.
By clicking you agree to the Terms of Use & Privacy Policy