
How to Hang Photo Tiles: Fast & Wall-Safe Tips
Key Takeaways
- Prep matters: choose smooth, clean walls and wipe with a lint-free cloth or alcohol wipe for best adhesion;
- Plan before you stick: test layouts, keep spacing consistent at about 2 inches, and use a level or painter’s tape for straight lines;
- Peel, stick, press: align each photo tile, then press firmly for 10 seconds; tiles are restickable so you can adjust without damage;
- Reuse with care: lift from the bottom edge to remove, keep adhesive clean, and avoid highly textured or wallpapered surfaces.
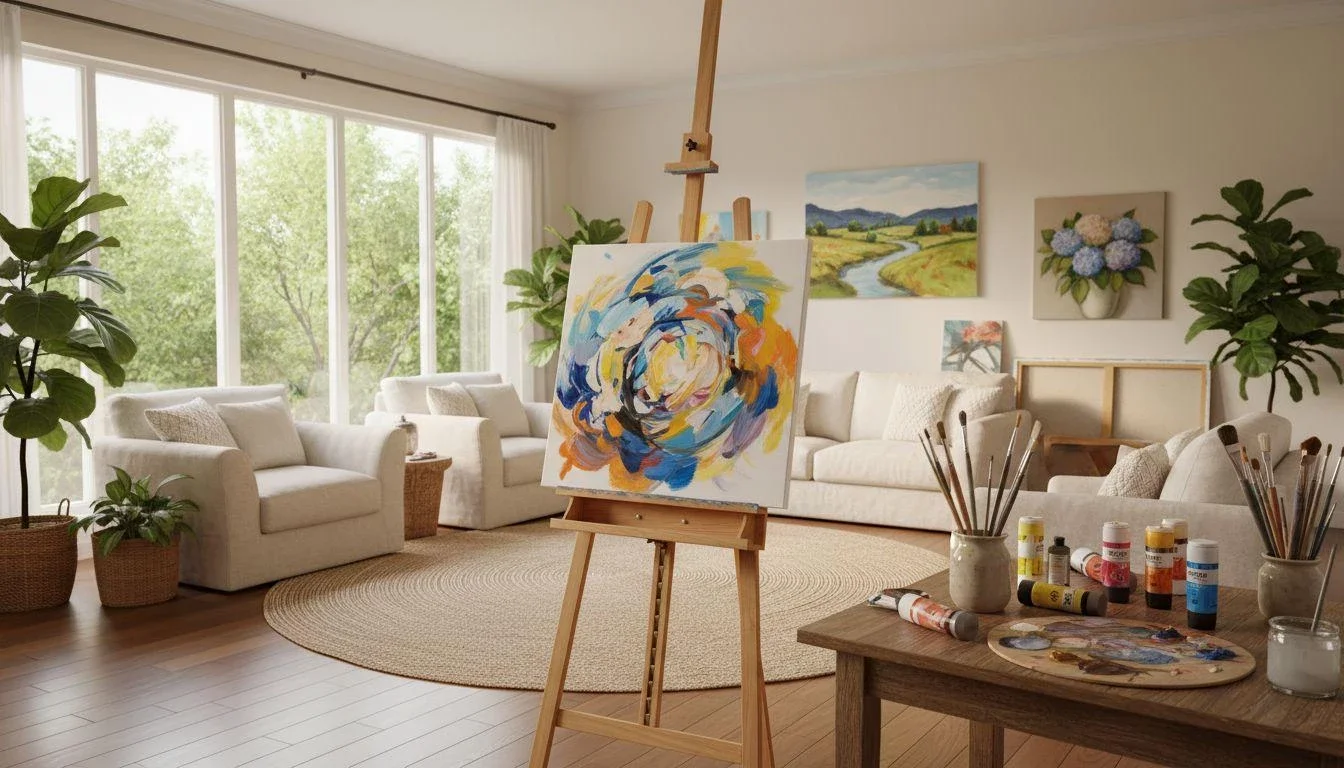
Looking for an easy way to hang pictures without nails or tools? Mixtiles picture tiles are lightweight, adhesive, and restickable, so you can create a personalized gallery wall in minutes. In this guide, you will learn exactly how to hang photo tiles: quick wall prep, smart layout planning, peel and stick installation, simple leveling, and clean removal. Whether it is your living room, hallway, or office, you can design wall art that looks polished without damaging your walls.
Create your photo tiles in minutes. Upload photos in the Mixtiles app or on our website and start building your personalized picture wall today.
What should you do before you hang photo tiles?
Great results start with a clean, suitable surface. Choose smooth, painted walls, sealed wood, glass, or tile. If your wall is freshly painted, wait at least two weeks so the paint can cure. Wipe the area with a dry, lint-free cloth. If needed, use a light alcohol wipe to remove dust and oils that can keep adhesive from gripping. Make sure the wall is fully dry, then lightly mark guidelines with pencil or painter’s tape to outline where your picture tiles will go. Some Mixtiles use a magnet system; the planning steps are the same.
Which walls work best?
Photo tiles work best on flat, clean walls in areas you see often: entryways, above the sofa, staircases, and office nooks. Avoid steamy bathrooms and very textured surfaces since humidity and roughness can reduce stick. If your walls are mildly textured, press a bit longer to help the adhesive make contact. When in doubt, test a single tile first.
How should you plan your layout and spacing?
A little planning will help your gallery look intentional:
- Arrange on the floor first to refine sequence and balance;
- Measure the wall width and center your layout before you hang (around eye level, usually 57 to 60 inches from the floor);
- Use painter’s tape as straight guides for rows and columns;
- Keep gaps consistent, about 2 inches or 5 centimeters, for most tiles.
Recommended spacing and height for a clean gallery wall
|
Tile size |
Gap between tiles |
Center height |
|---|---|---|
|
8 × 8 in (20.3 × 20.3 cm) |
2 in (5 cm) |
57–60 in (145–152 cm) |
|
12 × 12 in (30.5 × 30.5 cm) |
2–2.5 in (5–6.5 cm) |
57–60 in (145–152 cm) |
|
12 × 16 in (30.5 × 40.6 cm) |
2–3 in (5–7.5 cm) |
57–60 in (145–152 cm) |
What layout fits your space best? A classic grid looks modern and is easy to expand as you add photos. Staggered rows add movement and work well for eclectic pictures or prints. An organic cluster is a great way to display mixed sizes or a collage photo tile as a focal point. Choose the style that complements your room and furniture lines.
How to hang photo tiles step by step?
Follow these quick steps to peel and stick your tiles onto the wall for a neat, level galler:
- Start with the anchor tile: begin at the center of your layout or top-left corner to set alignment;
- Peel the backing: carefully remove the backing from the adhesive, avoiding contact with the sticky area;
- Align and place: use your tape guides or pencil marks to position the tile, then lightly touch it to the wall to check placement;
- Press to secure: when you like the placement, press firmly for about 10 seconds, focusing on edges and corners;
- Build the rest: complete the first row using your spacing, then add the next row, checking level as you go.
Want more quick and useful tips? Go check our “Tips & Tutorials” video on our YouTube channel!
How do you keep everything straight?
Use a small bubble level or your phone’s leveling tool across the top edge of each tile. A simple cardboard spacer cut to your gap size will help you keep distances consistent. Step back every few tiles and take a moment to scan the whole wall so small shifts do not compound.
Pro tips for perfect placement
- Work in bright, even light so you can see fine alignment;
- If you are mixing sizes, place the largest photo tile at the visual center;
- Photograph your mockup on the floor as a reference while you hang;
- If you make a mistake, gently lift from the bottom and try again. Restickable photo tiles make corrections easy.
If you are also decorating with canvas, learn how to hang canvas art on a wall for clean, secure placement.
Ready to try a layout now? Explore our curated gallery walls for inspiration, then upload your photos to create your own unique design in the Mixtiles app.
Can you remove and reuse Mixtiles without damage?
Yes! Lift evenly from the bottom edge and peel upward slowly to remove a tile without harming paint. If you plan to reapply, keep the adhesive clean and avoid touching it with your fingers. Wipe the new spot so it is dust free, then press firmly to rehang.
For storage, cover the back with wax paper to protect the adhesive. If your tiles use wall magnets, lift the tile off, then peel the wall pad parallel to the wall.
What if a tile will not stick as expected?
Reclean the area with an alcohol wipe and let it dry fully. Warm the adhesive with your hands for a few seconds, then press again for 10 seconds. Avoid textured, dusty, or humid walls, and make sure paint is fully cured. If the surface fights you, choose a smoother place and try a single tile to confirm it will hold.
Where do photo tiles look best in your home?
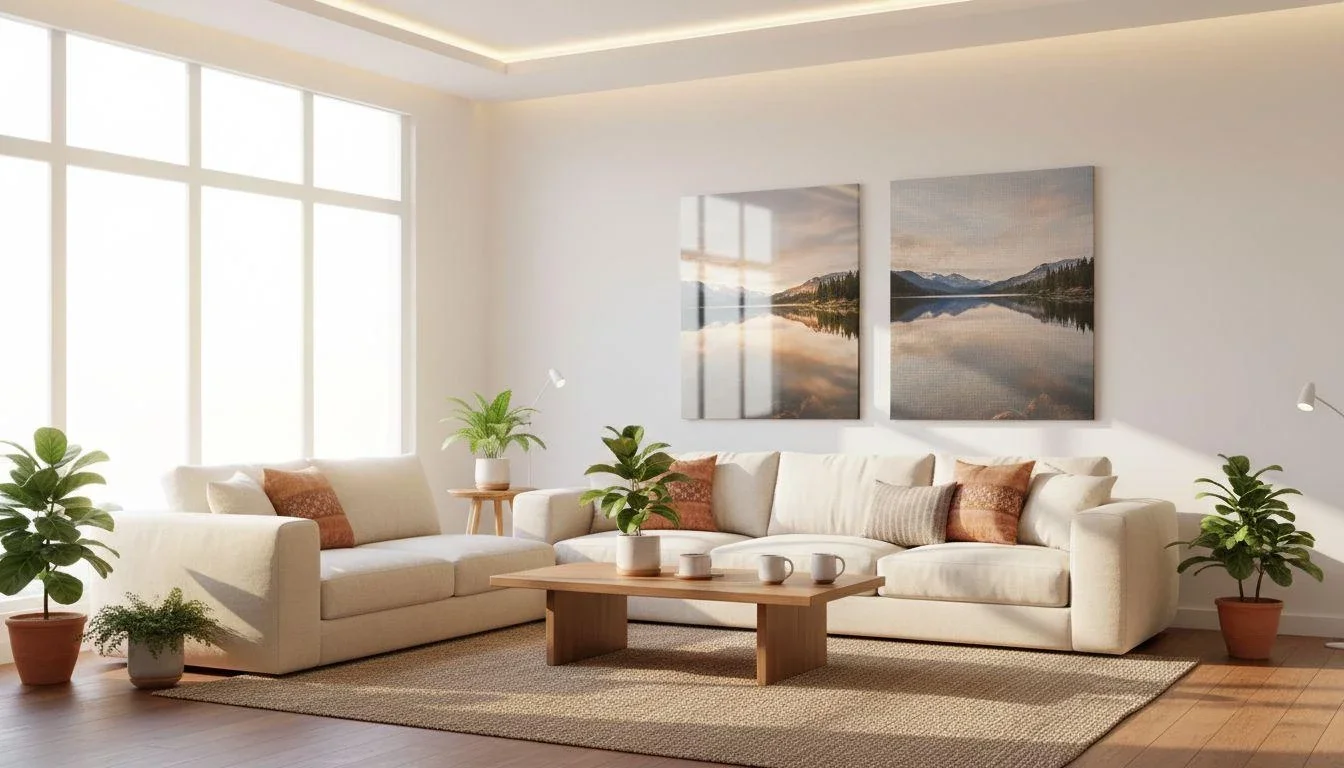
In the living room, a symmetrical grid over the sofa creates polished wall decor that feels like built-in wall art. Along a staircase, a diagonal or staggered gallery wall adds motion that follows the steps. In bedrooms and offices, smaller clusters are a great way to add a personal touch without crowding. Renters and dorms love Mixtiles because you can hang pictures without nails, then remove and move them when you are ready for something new.
Now that you know how to hang photo tiles, you can create a personalized gallery that looks sharp and stays put without damaging your walls. Prep your wall, plan your spacing, peel and stick, then enjoy a fresh design you can restick anytime. Explore Mixtiles canvas tiles, gallery wall kits, and wall signs to expand your look.
Make your perfect gallery wall today. Upload your photos to design a beautiful, restickable gallery, or explore our stunning personalized canvas prints for a different texture and look.
Frequently Asked Questions
What’s the easiest way to hang photo tiles without nails?
Prep a smooth, clean wall, mark light guides, then peel the backing. Align the first tile, lightly touch to test placement, and press firmly for about 10 seconds, focusing on edges. Build the first row, keep gaps consistent (about 2 inches), and adjust as needed.
How do photo tiles stick to walls, and are they reusable?
Mixtiles use gentle, wall-safe adhesive pads (and some styles use magnetic wall pads) that grip smooth, dry paint. To reuse, peel slowly from the bottom edge, avoid touching the adhesive, clean the new spot, and press firmly again. They’re designed to remove cleanly without damage.
How do I keep photo tiles level and evenly spaced?
Measure and center your layout, then use painter’s tape as straight guides. Cut a cardboard spacer to your chosen gap (about 2 inches/5 cm) and use a bubble level or your phone’s level on each tile. Step back every few tiles to verify alignment.
How should I display photo tiles for the best look?
Start around eye level (57–60 inches to the center). Try a clean grid over a sofa, a staggered diagonal on staircases, or an organic cluster in smaller spaces. Arrange tiles on the floor first to balance colors and faces, then transfer to the wall.
Will photo tiles stick to textured or humid walls?
They adhere best to smooth, dry, fully cured paint. Light texture may work if you press a bit longer; heavy texture, wallpaper, and steamy bathrooms can reduce adhesion. When unsure, test one tile first. Reclean the spot and press firmly for 10 seconds.

Be first to know — deals, news & decor ideas.
By clicking you agree to the Terms of Use & Privacy Policy